

How To Process Oboe Tube Cane
-

-
 by Kathy Sheinhouse


How To Process Oboe Tube Cane
This post addresses stage 1 oboe tube cane processing (tube to cut-to-length).
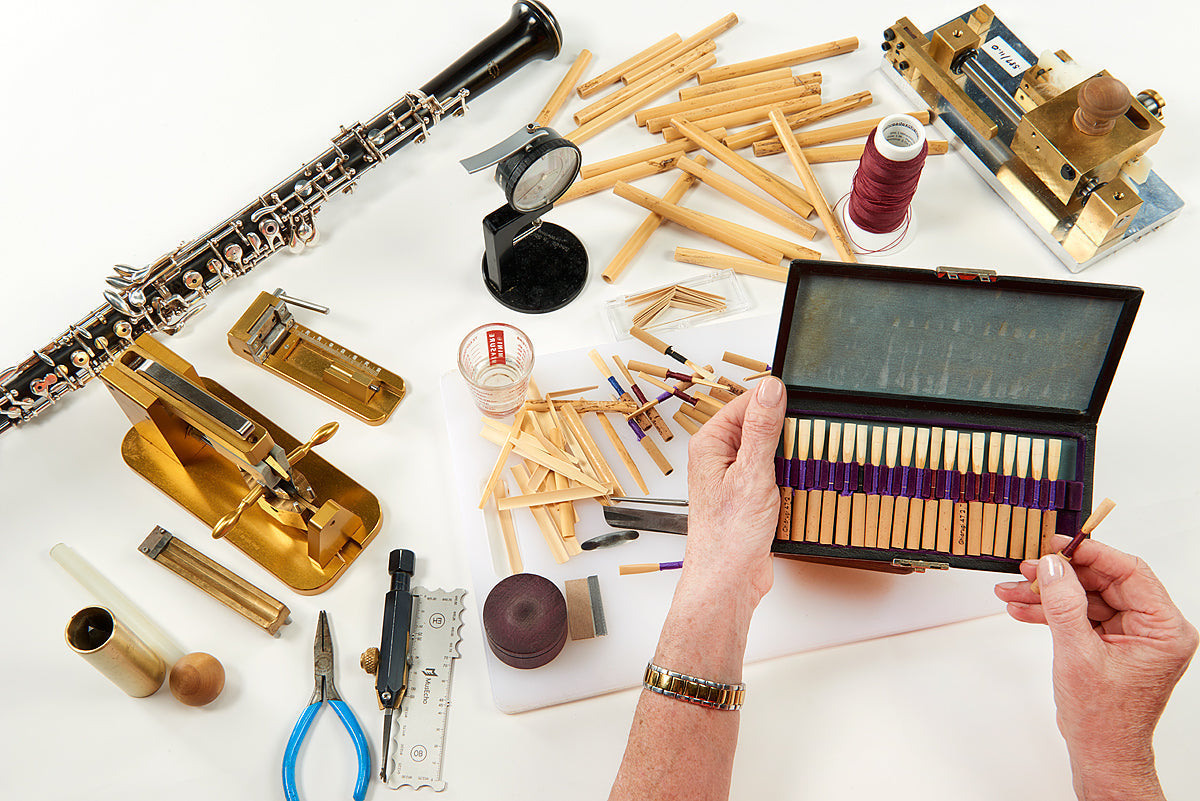
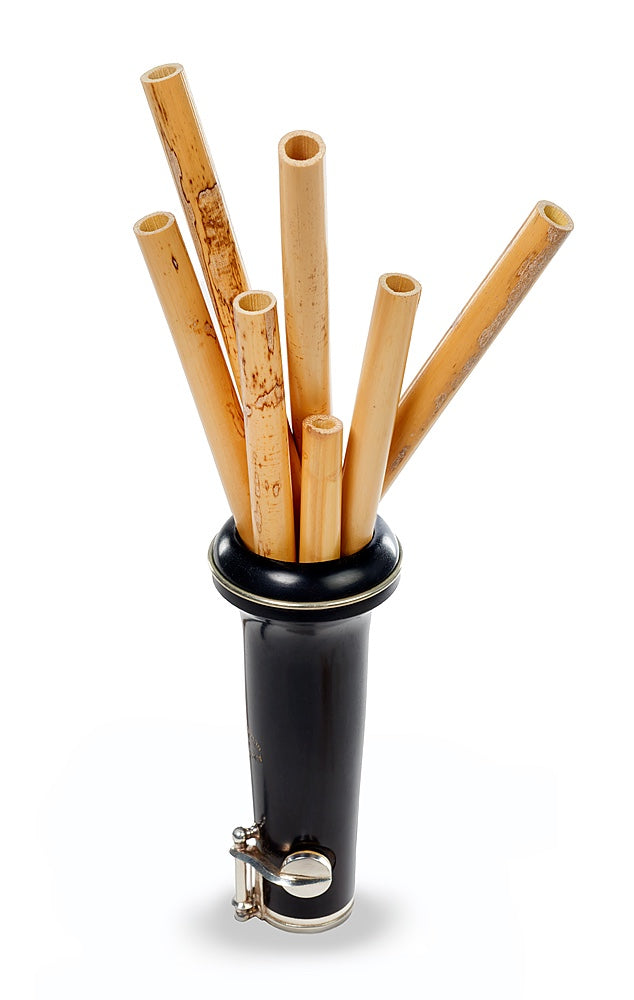
1) Inspect your tube cane.
Take note of its length, general straightness, thickness. Rolling the tubes along a flat surface is the quickest way to get a sense for what you have. However, when the ends are curved, it can mask a nice section within. When ordering directly from the grower in larger quantities, split 5-10 tubes right away to make sure there are no bugs. If there are bugs, you can try putting the cane in the freezer overnight to kill them. No longer than 12 hours if you have a frost free appliance. I killed some cane once before I got that warning.
2) Cane splitting techniques
Objective is to find 1-2 straight pieces of cane without destroying good pieces in the process. Straightness is more important than diameter. To me, cane with diameters of 10 mm or less are best split by hand, because there is normally only one piece to find and you don't want to lose it. Confession: I am not good with a single edge knife, and have been unsuccessful in finding my own pieces without a cane splitter. I prefer to keep my fingers. Cane 10.25+ can be split with a three way splitter. There are 2 section splitters that are best used when: the cane is relatively straight; and, when the cane is relatively larger (there is more room for error). In those cases, one is more likely to get two usable pieces from the tube. Before splitting, inspect the ends of the tube. If there are any blunt sections, mark them with a sharpie so that they are not placed down on the flat surface. My flat surface is a radius gage/ruler. They must REALLY be flat, and not just look flat, or you will get a distorted view of how the tube sits on the surface. Rotate the tube on the flat surface until you find a section that lies down as flat as possible. Don't worry about the ends, because they will be trimmed. Cane can have some lift on the ends after trimming, but it should not be bowed in the middle. Position the splitter to take advantage of your choice section. I split a lot at once, and then guillotine all at once. If you want to be extra careful, inspect and guillotine with every split.
3) Trimming: Put each piece through the radius gage, and then back on the flat surface. Discard twisted or otherwise damaged cane. Trim one side at a time, with an eye to what is available to work with on the other side. A swift stroke with the guillotine is less likely to crack the cane. A flat piece from end to end is a wonderful thing, but not always possible. You need to decide what your tolerance is for less, and put cane that is capable of making student reeds or, capable of being gouged aside. At the very least, you can adjust your gouger with some of this cane. Cane that is flared on the ends must be trimmed or discarded.
4) I typically use dry cane up to this point and past pre-gouge. As a Kunibert Gouger owner, I follow their advice to gouge dry, though most gouger manufacturers recommend soaking 1-2 hours in warm water.
Shop Oboe Cane


