

How To Prepare An Oboe Reed For Play
-

-
 by Kathy Sheinhouse


How To Prepare An Oboe Reed For Play
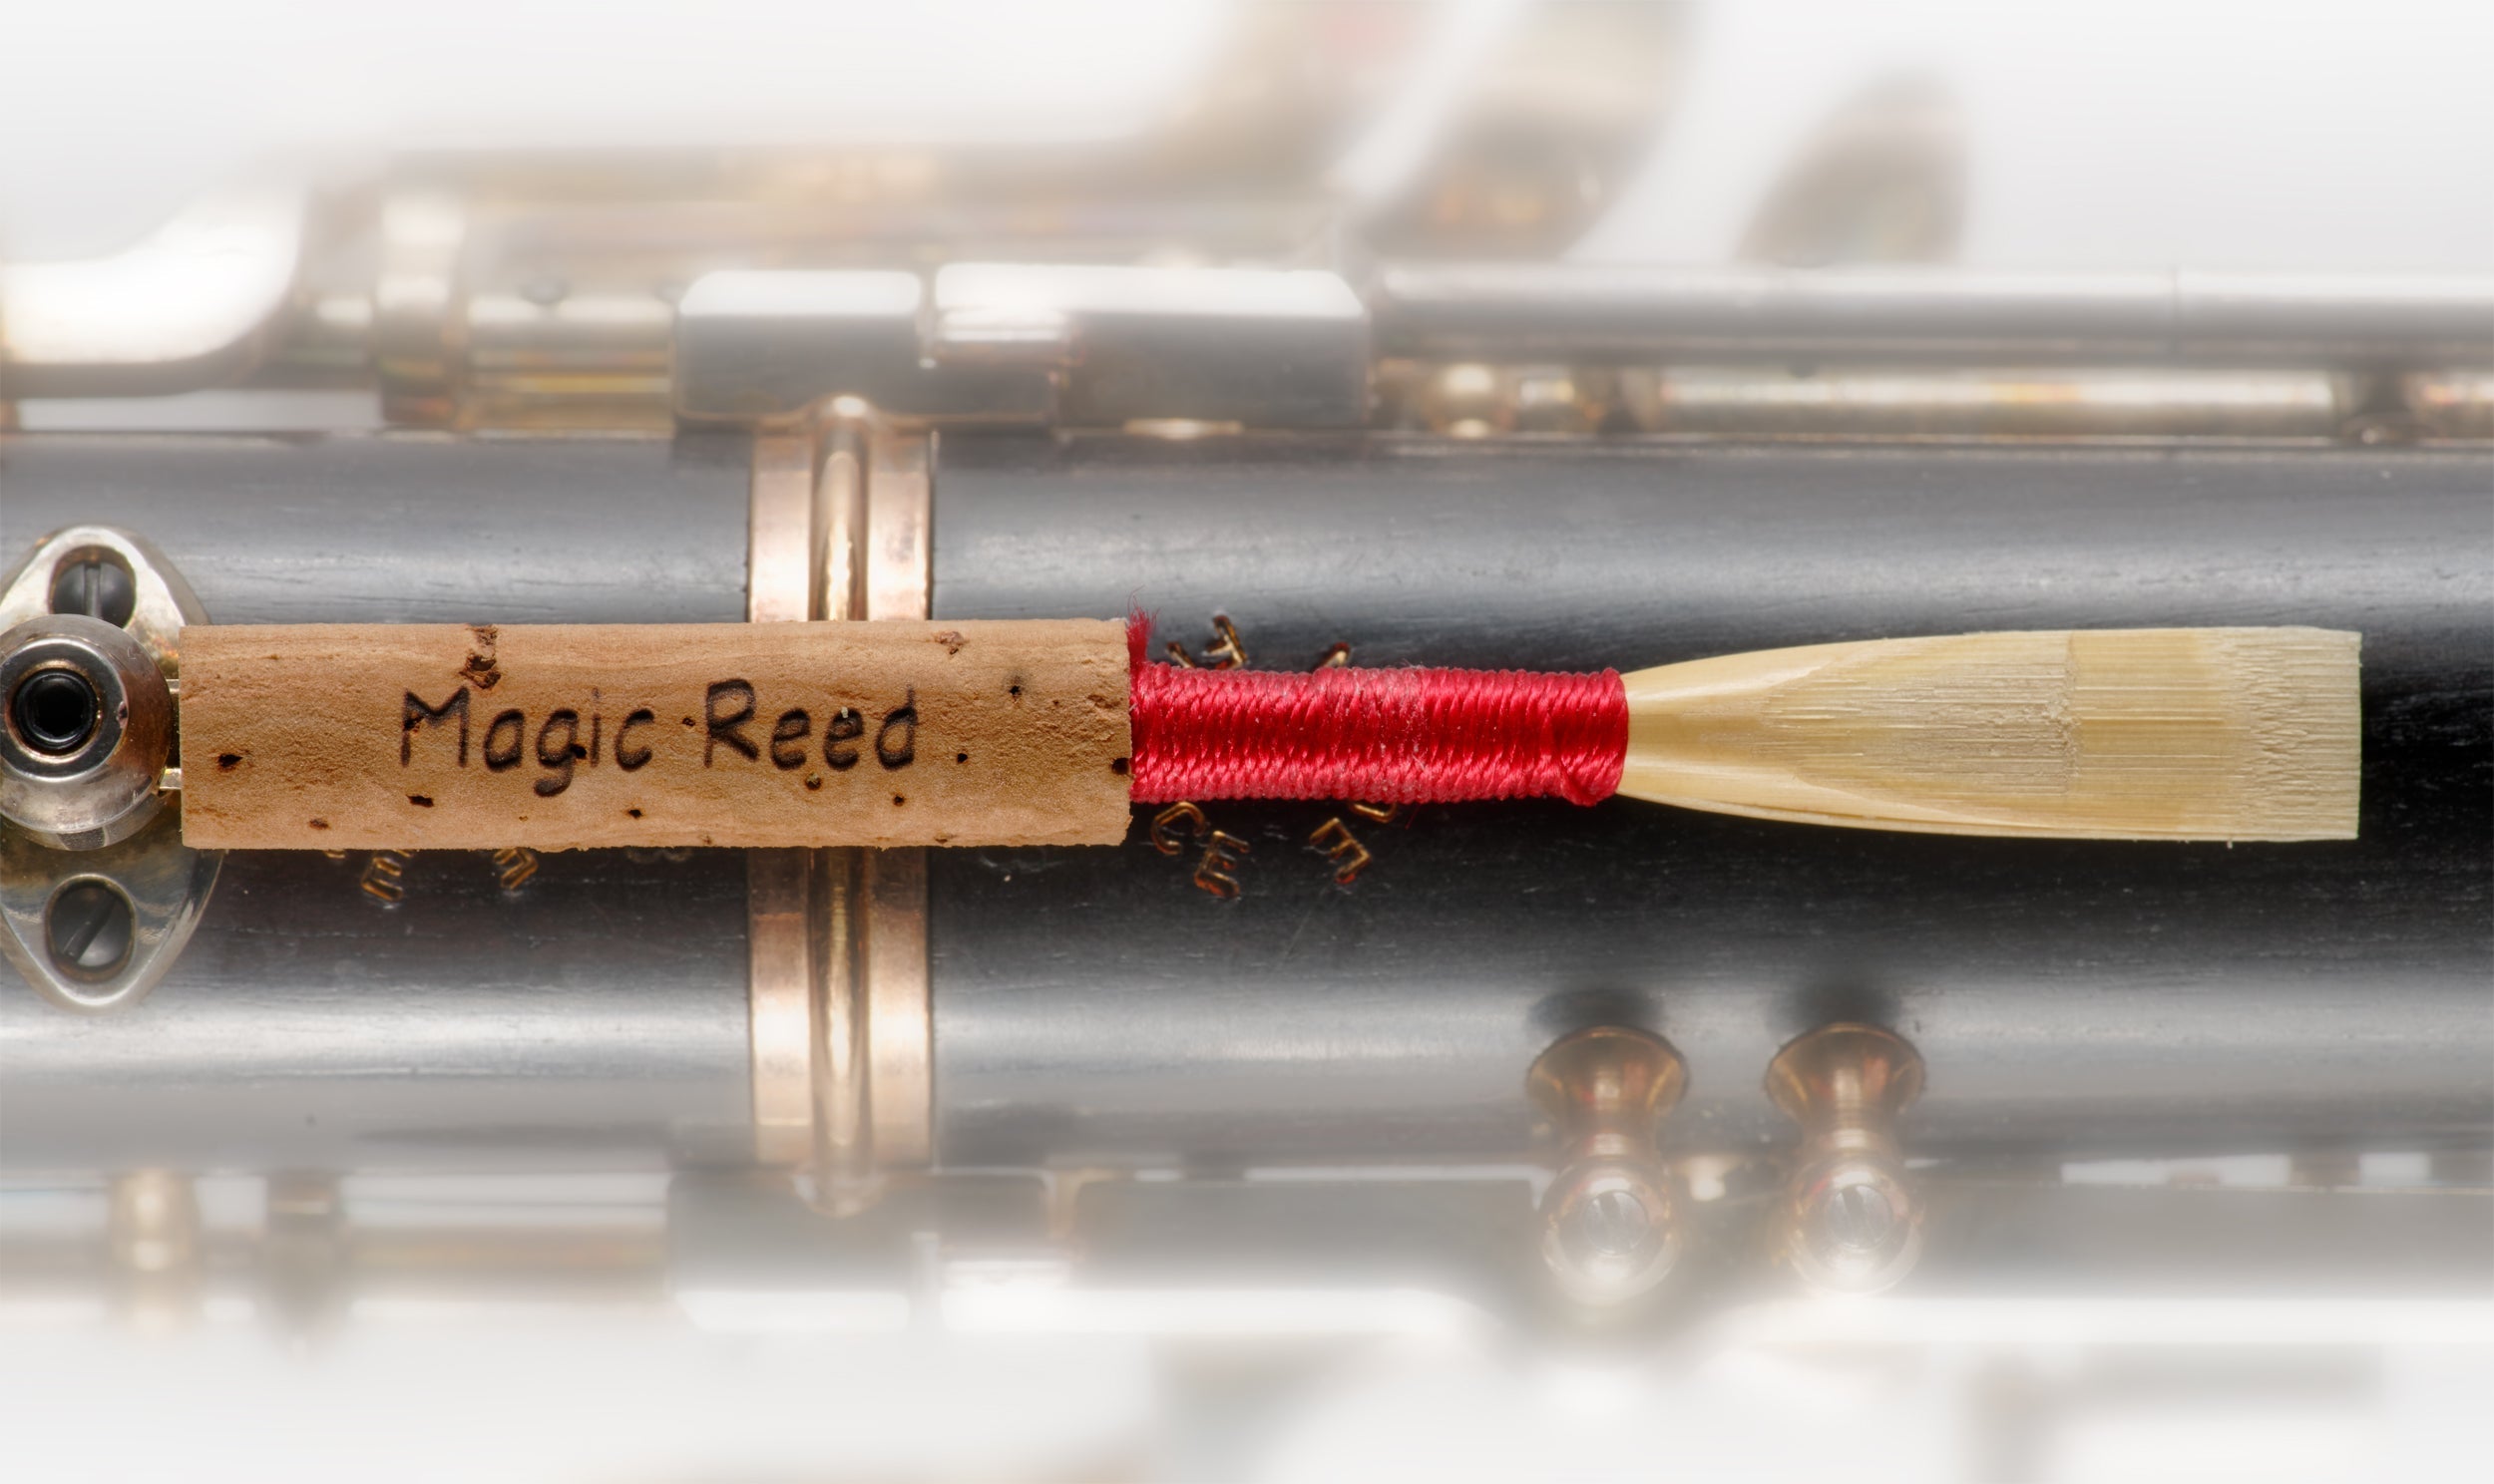
Oboists need to rely on their oboe reed to play reliably with the first attack. It will not do so in it's natural dry state. This means that it needs to be prepared for play, and every reed is a little different and needs slightly different preparation. The first step in preparation is soaking the reed. Oboe Reeds that are not soaked properly will not perform well. The second preparation step is to warm up with scales to increase flexibility and shape it to your embouchure.
Why Soaking An Oboe Reed Is Important
Soaking impacts the hardness of the cane (tightness of the fibers); and, the size of the aperture. Typically, when dry, a reed shrinks, closes, and hardens. When cane is soaked, its fibers swell and soften, and the aperture gets larger. Soaking the reed just enough prepares the reed to play the way you like them. Water gives the reed more brilliance versus saliva and is preferred.
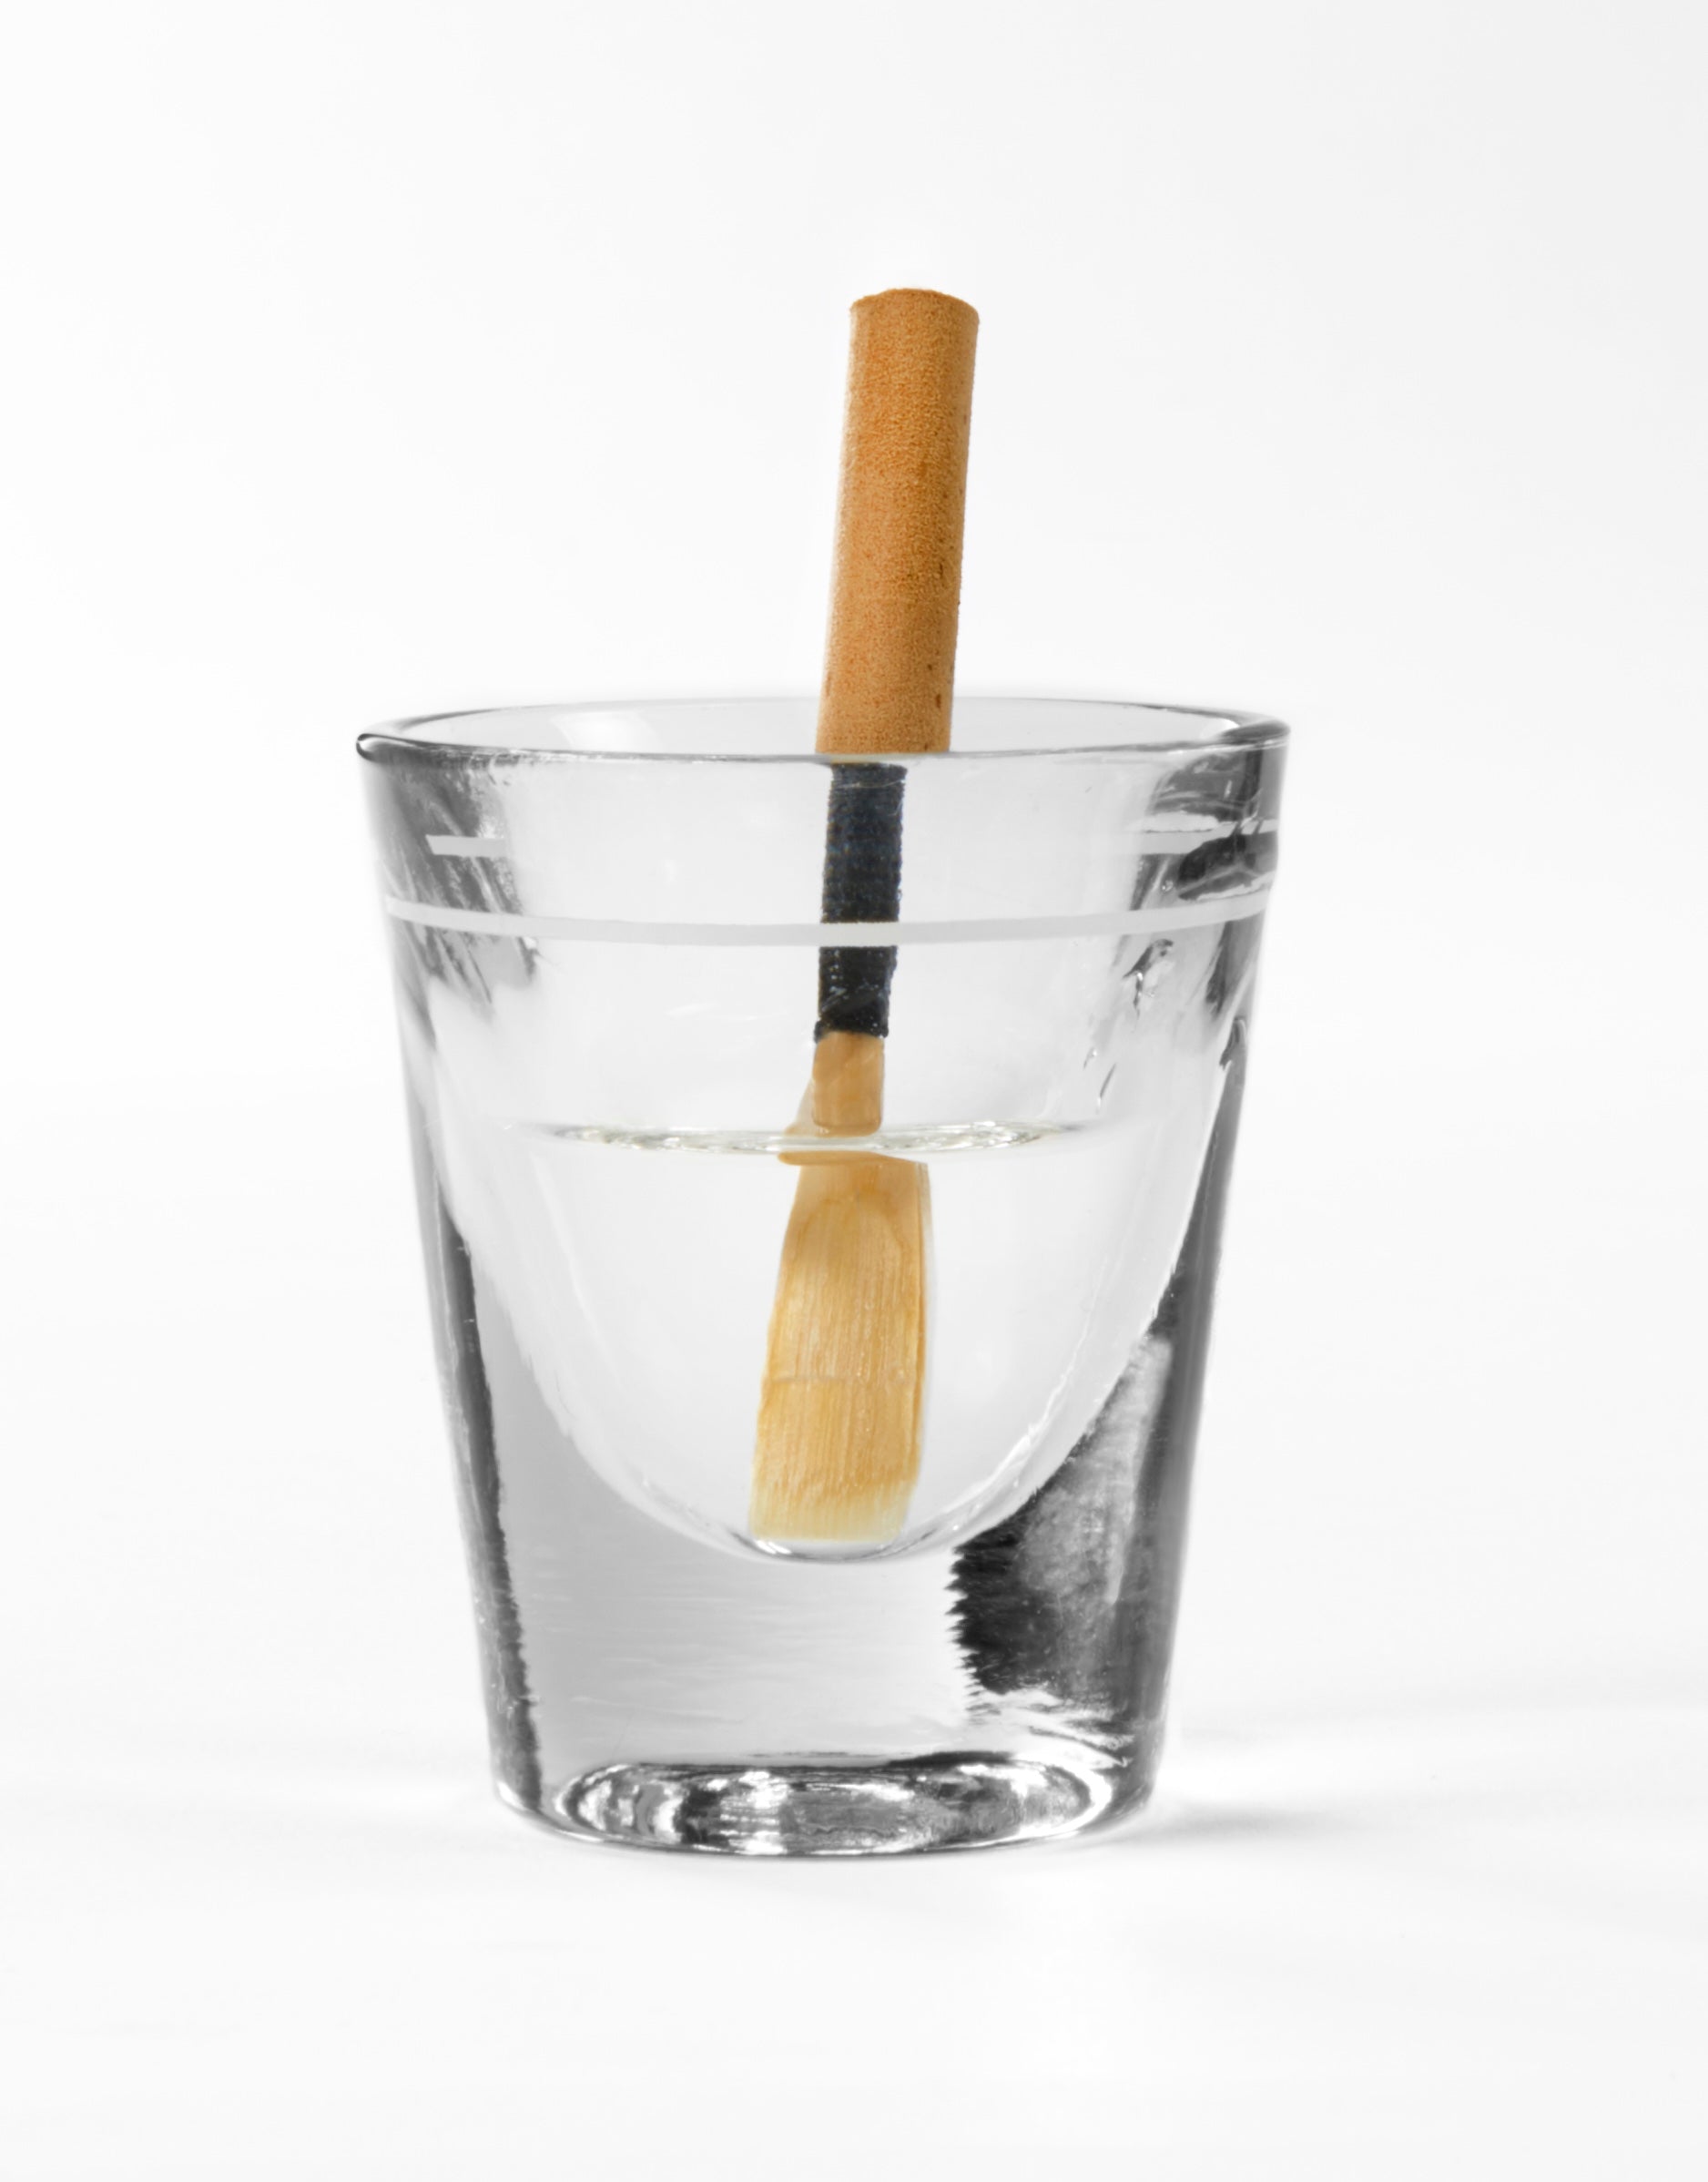
How To Soak Your Oboe Reed
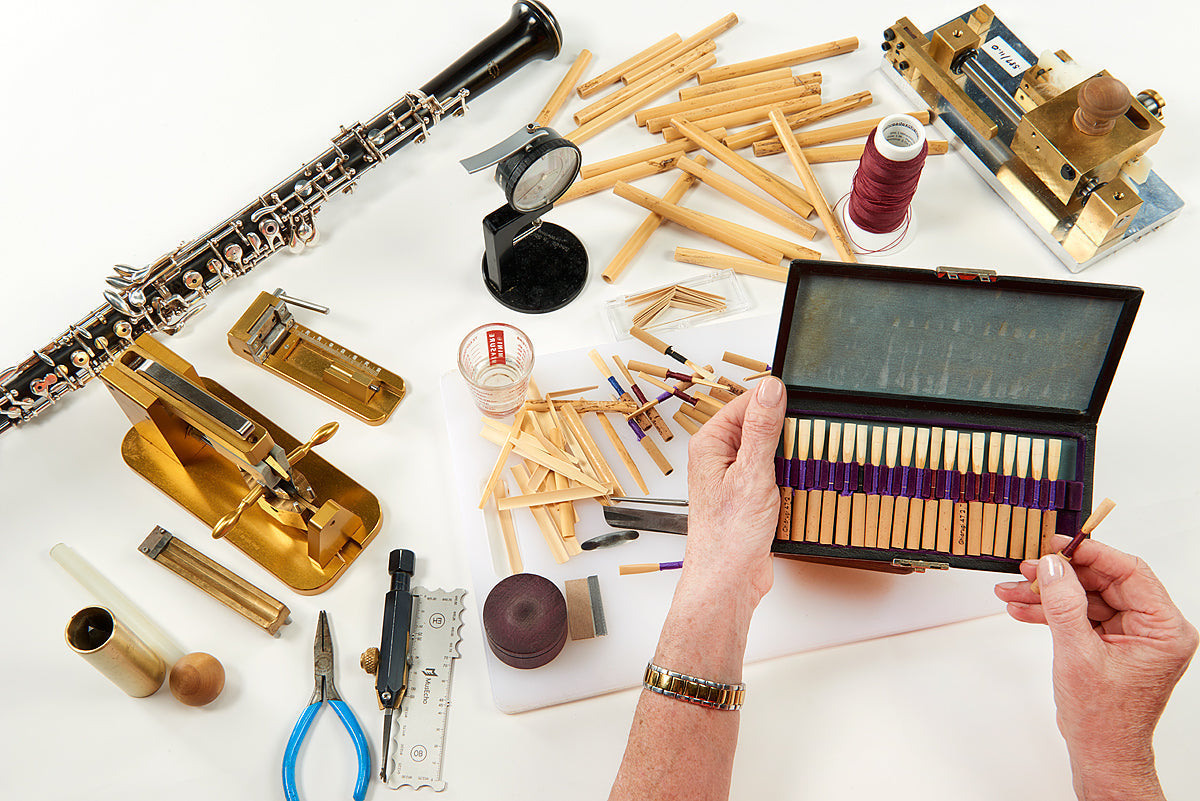
Every oboist needs to be equipped with a jigger for home and a sealable pill vial when in school or on the road. I recommend that you soak my reeds for 30-60 seconds in warm (not hot) water, and then let them sit to taste. This is shorter than some other reed maker's recommendations. It reflects the fact that my reeds are not collapsed when dry. When reed makers recommend 2-3 minutes of soaking, it is generally necessary to compensate for a collapsed state when dry. To me, this collapsed state predicts a short and unexpressive life.
Effective aperture management means customizing this routine to the requirements of the reed. Your own aperture preferences will dictate your strategy in terms of the temperature of your water, the length of your soaking time, and the frequency that you need to go through this cycle if your goal is to break-in your reed that may be too hard when it arrives from the reed maker.
Be Flexible: If your reed has closed down, you may consider warmer water to facilitate the swell. If your reed is too open, consider water that is a little cooler
If you are in concert (or rehearsal) and you spend more than a couple of minutes waiting for your next entrance, make sure that your reed is properly hydrated so that its aperture resembles that aperture that you had before the rest. Otherwise, you may need to wrestle with the reed to get the response you want.
Caution: The longer you let a reed sit after soaking, the more the aperture will swell. Be careful not to let it sit too long. It will be difficult, if not impossible, to restore to playing condition for immediate use.
The Pinch
A pinch here and a pinch there goes a long way to managing short-term aperture requirements.
To open a closed reed with a pinch, place your finger tips on the sides of the reed. Gradually put pressure on the side to open the reed. Do not pinch too firmly all at once. You may damage the reed and make it unplayable. Generally,the longer you play on a reed, the more the aperture responds by closing.
When a reed is too open, we recommend a two step process. Start by pinching the from and the back of the end of the tip. If it doesn't do enough, gradually move back the reed, until you reach the the heart and try again. If this doesn't work, the next step is go to the base of the back (just above the thread) and try again- increasing pressure as needed. If you are a skilled reed maker and none of the above works, consider taking more bark out of the base of the reed (3-4 mm above thread).
A Good Plier Goes A Long Way
The use of pliers is an advanced technique. There are times that your reed has been really played out, and isn't doing the job. This can happen in the middle of an important rehearsal or even a concert. These times call for extraordinary measures, especially when you don't have access to another reed that is ready to play. The risks are not great because the reed is about to die anyway. Our suggestion is to carry pliers with you. Position your pliers 2-3 mm under the top edge of the thread (front and back not side to side of the reed). Gently put pressure on the string/staple face and increase pressure until the aperture opens. It will not return to its original size, but the strategy may be what you need to make it through the event.
When it's dead it's dead. Dismantle the reed and either give the staple to your teacher, or save it for future reed making endeavors.
Warm-Up
Nothing beats scales and arpeggios to make sure your reed is in good working order, to soften its fibers to break it in, and to warm up your hands and vibrato.
Sanitizing Your Reed Upon Arrival
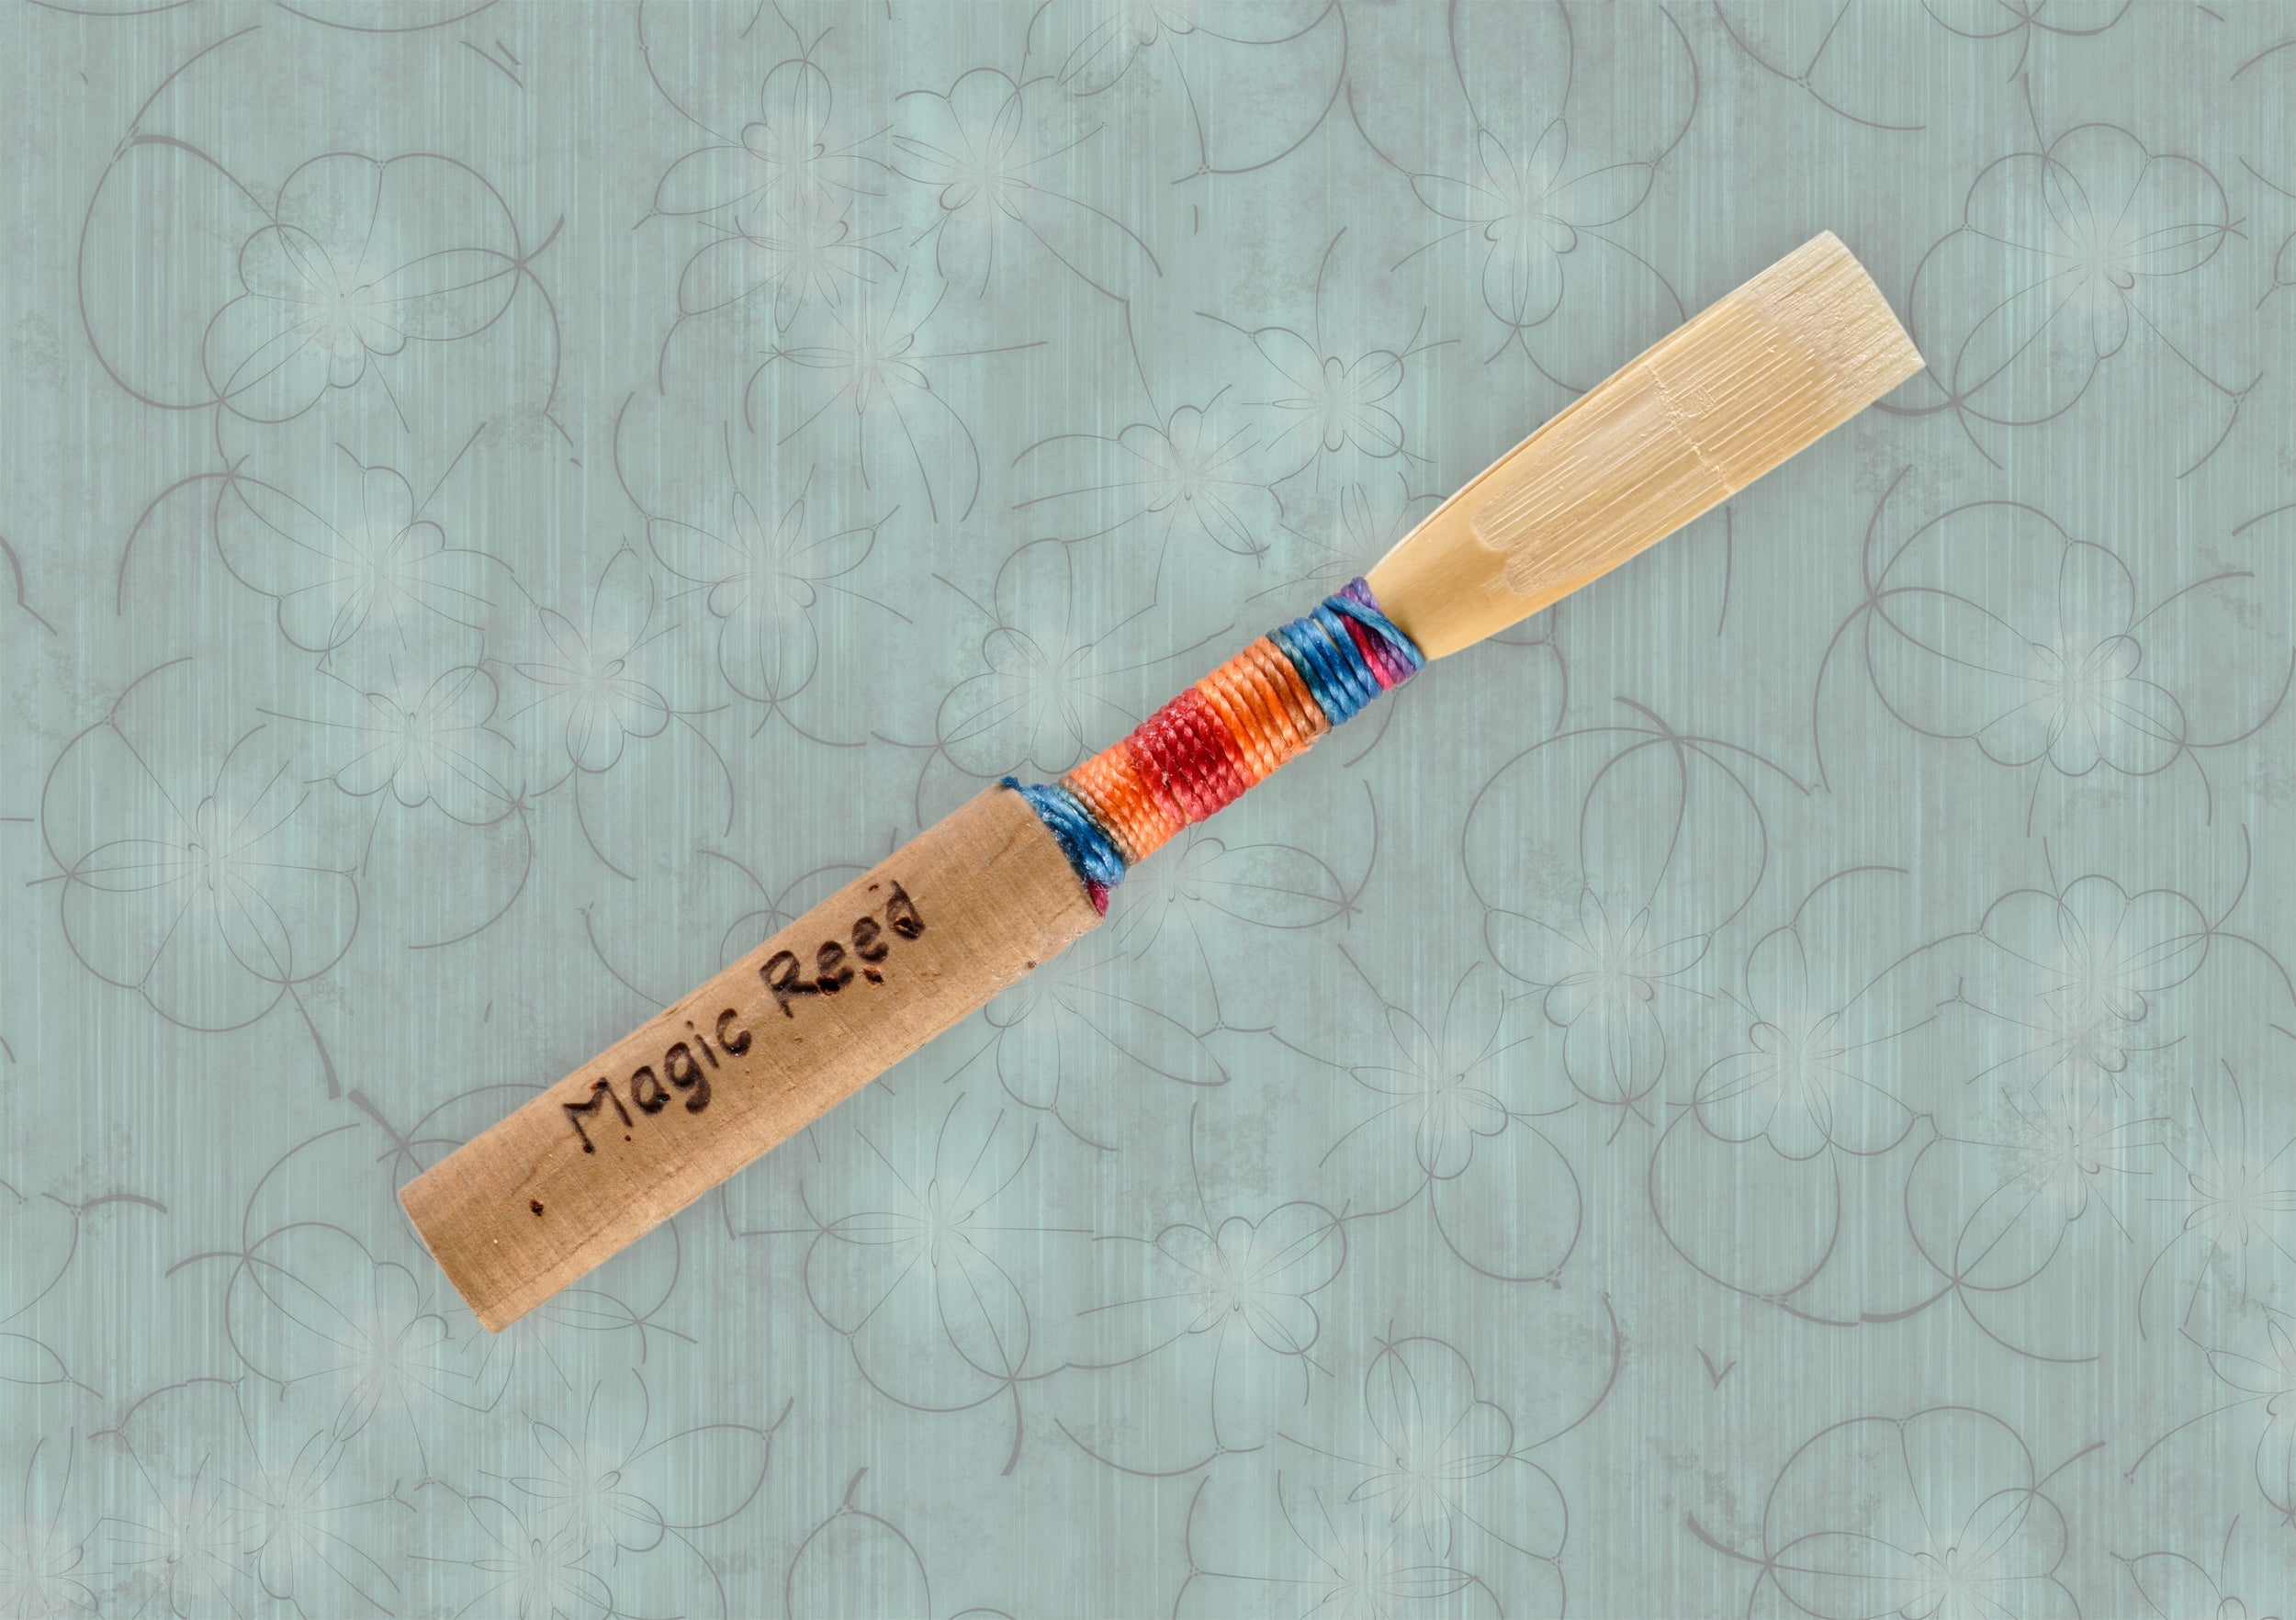
While all Magic Reeds are sanitized with Sterisol before leaving my Shop, I recommend that buyers of reeds from me or any other reed maker sanitize their reeds again upon arrival.
Shop Oboe Reeds


